Wall shelves are the best way to give any room more display and storage space. You can create and install custom wall shelves that are specifically designed for your room with a few basic do-it-yourself abilities. This guide will show you how to build wall shelves and style them perfectly.
1. Choosing a Design
When deciding on a wall shelf design, consider the function and visual appeal. Shelves spanning an entire wall make a bold style statement but may not fit in every space. Some popular wall shelf styles include:
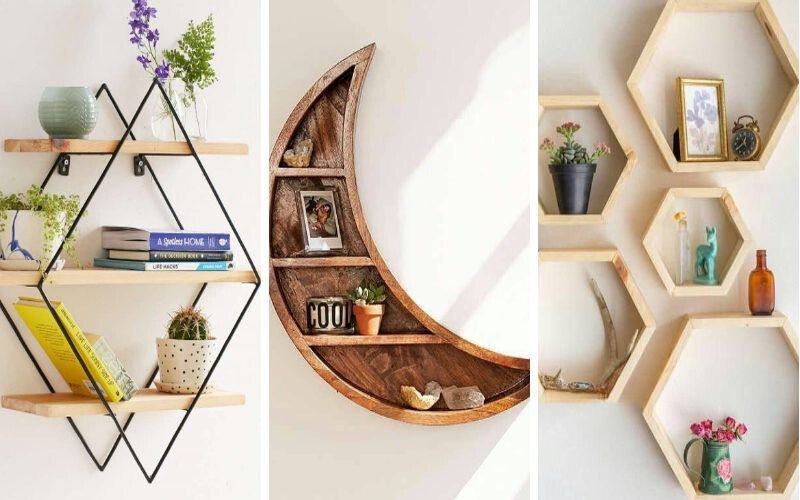
- Floating shelves: Single boards mounted directly to the wall. Great for small spaces.
- Ledge shelves: Like floating shelves but wider and weight-bearing.
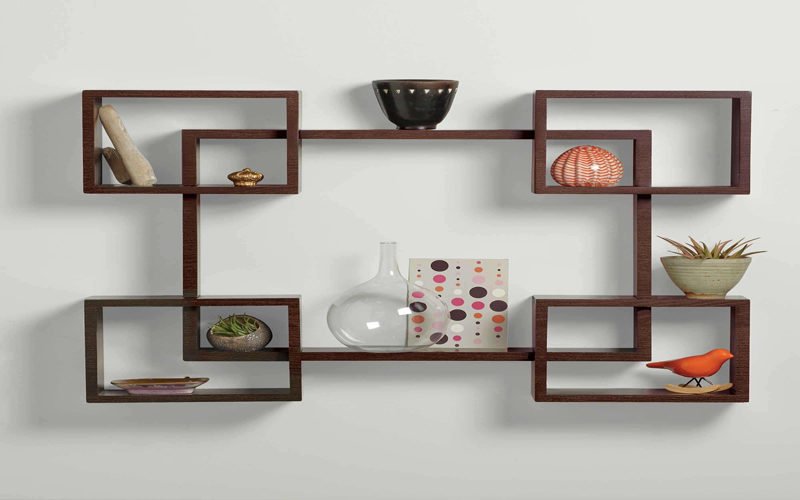
- Box shelves: Cubbies and ledges framed together as one unit. Offers enclosed storage.
- Bracket shelves: Shelves held up by triangular supports. Excellent for displaying decor.
You should measure the space where you want to put the shelves and draw a plan that works with the shape and size of the wall. When you buy shelves, keep in mind the common widths of lumber. Custom patterns let you be more creative.
2. Selecting Materials

The shelves themselves and the wall anchors or brackets comprise a wall shelf. You can make shelves out of many things, like metal, glass, and wood. Because it’s cheap and easy to deal with, wood is the most commonly used material.
Select poplar, oak, or pine planks for their longevity. Paints and stains are examples of finishes that improve aesthetic appeal. Use metal angles, bracing, or floating shelf brackets for wall mounting. For uniformity, match the hardware finish to the shelves. Check that it is rated for the shelf weight capacity.
3. Gather Tools And Supplies
Building DIY wall shelves requires only basic tools like:

- Tape measure
- Stud finder
- Level
- Power drill
- Saw (jigsaw, miter, circular, or table saw)
- Sandpaper
- Wood glue
- Finishing supplies (wood filler, stain, paint, polyurethane)
Have the lumber, hardware, and supplies for the shelves ready before starting. Use painter’s tape for markings. Work in a spacious area for ease of movement.
4. Constructing and Installing Wall Shelves
Follow these key steps to build and mount wall shelves:
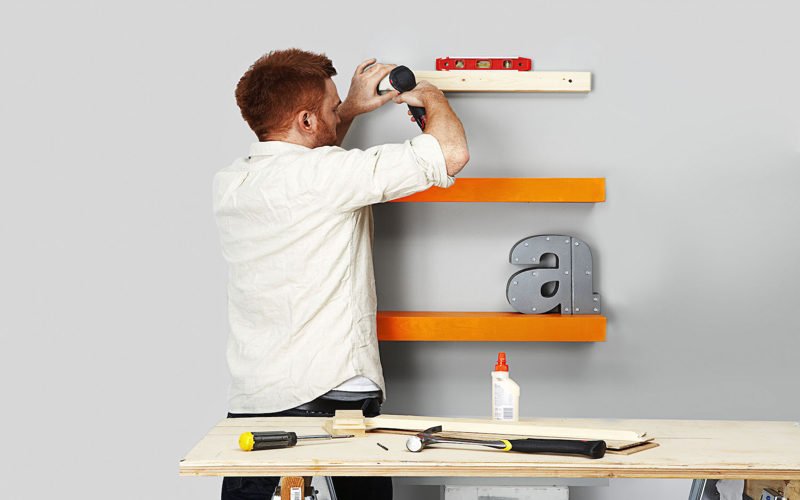
- Find studs and mark where they are with a stud finder. Draw a level line on the wall where you want to put the shelves. Mounting is stable if the screws are fixed in the studs.
- With the supervisor’s permission and help, cut the shelf boards to the length you need with a circle saw or a handsaw. Smooth out the edges.
- Use wood glue and screws to attach fixing cleats, braces, or L brackets to the back of shelves. Place according to the style that was planned.
- Find the marked spots on the wall for the shelf brackets or mounts. Make small holes first if you’re going into studs.
- Use a power drill to attach the shelf mounting tools to the wall. For strength, make sure the screws go through the walls and into the studs.
- Put the shelves on the supports carefully, making sure they are level as you go. Add any extra braces for support.
5. Apply Protective Finishes
Unfinished wood can warp over time when exposed to humidity and temperature changes. Protect wall shelves by:
- Filling imperfections with wood filler compound. Let dry completely.
- Sanding smooth with 120-150 grit sandpaper. Dust off residue.
- Brushing, spraying, or wiping specialty finishes like stains, paints, or polyurethane. Allow proper dry time.
- Adding a second coat for maximum protection.
Finishes prevent cracking and peel, as well as amplify the visual impact of wood grain patterns.
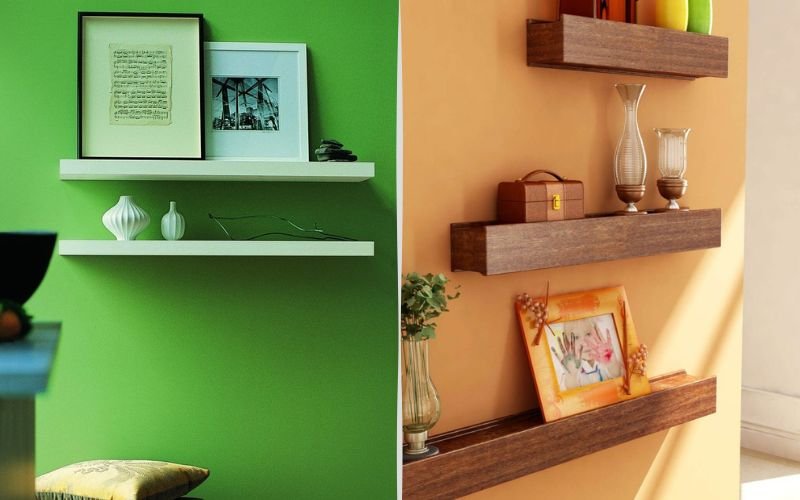
Style Shelves with Decor and Accessories
You may choose any method to beautify the shelves with. Try to find a style that goes well with everything else in the room. Think about mixing:
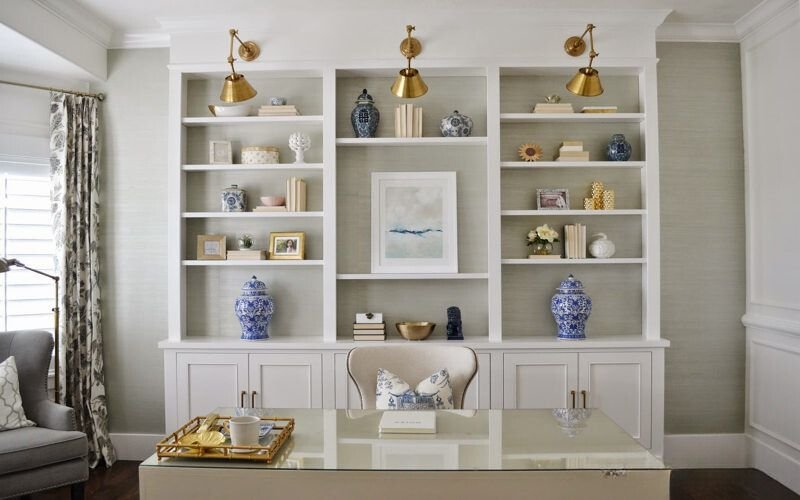
- Frames: Display family photos, art pieces, or decorative frames.
- Plants: Add life with succulents, flowering plants, or potted vines.
- Books: Organize by color or stack horizontally with bookends.
- Collections: Showcase meaningful souvenirs or hobbies.
- Accent decor: Place vases, candles, baskets, figurines, or wall art.
Cut down on extras so shelves don’t look crowded. For harmony, repeat some things, like colors, shapes, or materials. Wall lamps or track lighting can be used to light up shelves and the things that are on them.
Maintaining Wall Shelves
With proper care and maintenance, DIY wall shelves can last for years in peak condition. Follow these upkeep tips:
- Use experienced help to mount shelves high up to prevent accidents and damage.
- Dust shelves regularly and wipe down with a slightly damp microfiber cloth.
- Check mounts and connections are secure every few months. Tighten any loose screws.
- Reapply protective finishes whenever you notice cracks or scratches.
- Avoid overloading shelves with excess weight beyond their capacities.
- Rearrange accessories seasonally for a refreshed look.
Conclusion
Building and installing custom wall shelves is an extremely rewarding DIY project. The right knowledge on how to build wall shelves and style them perfectly will encourage beautiful displays and storage solutions tailored exactly to your space and needs.
With the right preparations and materials, you can confidently tackle this project. Just follow safe practices and leverage experienced help whenever required during the installation and mounting process. The result will be a functional and decorative feature you’ll enjoy for years.